1.
On the toolbar click on the Calibration icon  and a drop down menu will appear. and a drop down menu will appear.
2.
Select “New Calibration Profile”.

3.
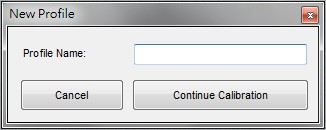
A small window will pop up. Give the profile a name. For example, if you are calibrating at 200X and measuring 1mm, the profile name could be “200X – 1mm”.
4.
Click “Continue Calibration” when finished naming the profile.
5.
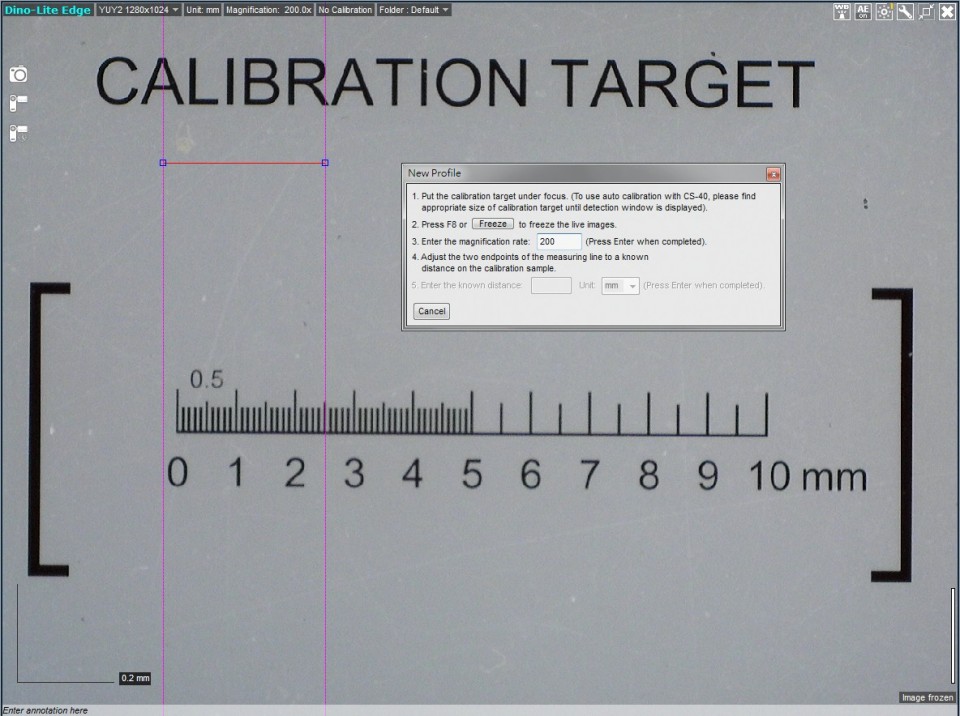
In the new menu press F8 on the keyboard or click the “Freeze” button to freeze the calibration object.

6.
Enter the magnification that can be read from the Dino‐Lite. Press Enter when finished. In this example I will be calibrating at 200X.

7.
A red bar with two blue dots will appear with pink guidance lines. You are now ready to calibrate.
8.
Click once on one of the blue dots to start moving it to your desired location.
9.
Click again to stop.
10.
Click on the other blue dot to start setting the other end point.
11.
Click on the left mouse button again to stop.
*Tip: For more accurate measurements, click on the magnify icon  . While using the magnify feature, you can use the arrow keys on your keyboard for pixel per pixel vertical or horizontal movement. When set to a desired location, click the left mouse button to set the desired endpoint. . While using the magnify feature, you can use the arrow keys on your keyboard for pixel per pixel vertical or horizontal movement. When set to a desired location, click the left mouse button to set the desired endpoint.
12.
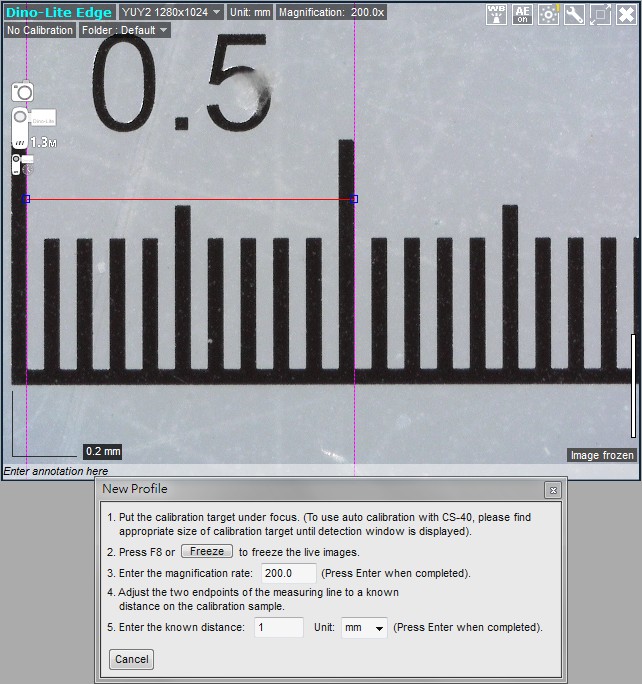
When the correct distance is measured, enter the known distance. In this example I am measuring a 1mm calibration target so I entered 1 into the known distance box.
13.
Enter the units of measurement by selecting the “Unit” dropdown box.

Press “Enter” to complete setup.
You are now finished setting up a new calibration profile.
When a calibration profile is selected, it will show in the live video window next to the adjusted magnification.

When a calibration profile is in use, a box on the top of the preview window will display your adjusted magnification rate.

If you create multiple calibration profiles for different magnification levels, i.e., 1 and 2, they will appear in the Calibration drop down menu. A check mark will appear next to the profile you have selected.

For best results, it is recommended that you select a calibration profile close to the magnification you are using. For example, if the microscope is at 75X magnification and you have calibration profiles setup for 50x, 80x and 200x, it is best to use the profile setup at the closest magnification, which in this case would be 80x.
If you measure with a magnification out of the calibrated range of your profile, the results may not be accurate. For example, if you calibrate at around 50x but then measure at 200x magnification, the measurement results may be inaccurate.
If fixed magnification is required, simply calibrate at that magnification only for the most accurate results. For example, if you will be using a fixed magnification of 50x, setting up a single calibration profile at 50x will give you the most accurate results.
The calibration can be disabled at any time by selecting No Calibration in the drop down menu.

Note: The measurement and calibration feature is only available for certain models. Please contact a local sales representative for further information. |